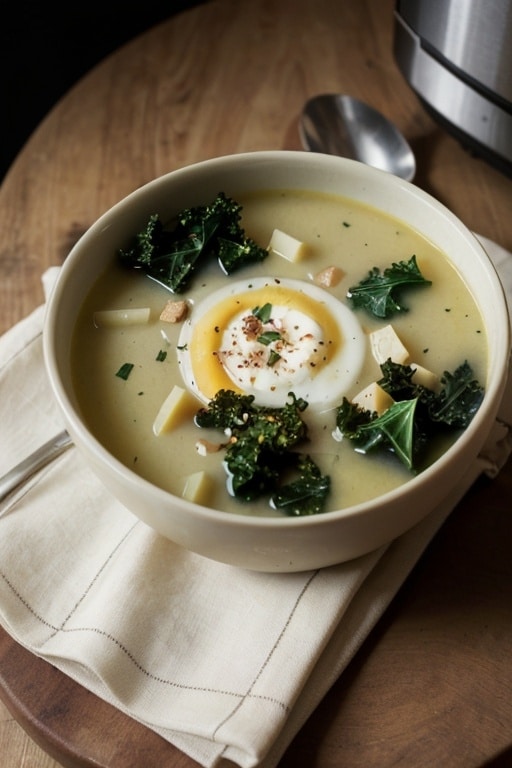

Have you ever craved a cheeseburger but wanted something a little different? Picture this: a rich, creamy soup that captures all the flavors of your favorite cheeseburger, complete with melty cheese, savory beef, and fresh toppings. That’s exactly what cheeseburger soup brings to the table. This dish is not just a meal; it’s a warm hug in a bowl that’s perfect for any night of the week.
What makes cheeseburger soup special? It’s the delightful combination of familiar flavors wrapped in a comforting, hearty broth. It’s quick to make and can be customized to suit your tastes. Whether you’re serving it for a cozy family dinner or a gathering with friends, this soup is sure to impress. Let’s delve into how to create this delicious dish.

Ingredients & Substitutions
Essential Ingredients
- Ground Beef: The foundation of the soup. Use lean beef to keep it from being too greasy.
- Onion: Chopped, for aromatic depth.
- Garlic: Minced, to add a savory note.
- Carrots: Diced, for sweetness and color.
- Celery: Diced, for crunch.
- Potatoes: Diced, to make the soup hearty.
- Beef Broth: Provides the base for the soup.
- Milk: For creaminess; whole milk or half-and-half works best.
- Cheddar Cheese: Shredded, for that classic cheeseburger taste.
- Worcestershire Sauce: Adds depth and umami.
- Salt and Pepper: Essential for seasoning.
- Toppings: Chopped pickles, tomatoes, and green onions for garnish.
Quality Substitutions
- Ground Beef: Ground turkey or chicken can be used for a lighter version.
- Broth: Vegetable broth can substitute for a vegetarian option, though you may want to add in some extra seasoning.
- Milk: For a lighter soup, use skim milk or a plant-based milk. Just ensure it’s unflavored.
Choosing fresh ingredients is crucial. Fresh garlic and herbs significantly enhance flavor, elevating the dish beyond ordinary.

Step-by-Step Instructions
Sautéing the Base
- Heat the Pot: In a large pot, heat about 2 tablespoons of olive oil over medium heat. This will create a flavorful base.
- Cook the Beef: Add the ground beef, breaking it up with a wooden spoon. Cook until browned, about 5-7 minutes. Drain excess fat if necessary, but leave some for flavor.
- Add Aromatics: Stir in the chopped onion, garlic, carrots, and celery. Cook for another 5 minutes, until the vegetables soften. This builds a great flavor foundation.
Building the Soup
- Incorporate Potatoes: Add the diced potatoes and stir to combine. These will add heartiness to your soup.
- Pour in Beef Broth: Add the beef broth and bring the mixture to a boil. This helps the flavors meld and the potatoes cook through.
- Simmer: Reduce the heat to low and cover the pot. Let it simmer for about 15-20 minutes, or until the potatoes are tender.
Making it Creamy
- Add Milk: Once the potatoes are tender, stir in the milk. This adds creaminess and richness to the soup.
- Mix in Cheese: Gradually add the shredded cheddar cheese, stirring until melted and creamy. This is where the cheeseburger magic happens!
Final Touches
- Season: Add Worcestershire sauce, salt, and pepper to taste. This step is crucial for balancing flavors.
- Serve: Ladle the soup into bowls and top with chopped pickles, tomatoes, and green onions for a fresh touch.
Expert Tips
- Avoid Overcooking the Vegetables: You want them tender but not mushy. Keep an eye on them while they cook.
- Common Mistakes: Not draining excess fat from the beef can lead to a greasy soup, so be mindful of that.
Variations
For a spicier kick, add a dash of hot sauce or cayenne pepper. You could also toss in some diced jalapeños for an extra layer of flavor.
Cooking Techniques & Science
Understanding the techniques used in this recipe can enhance your cooking. Sautéing the meat first allows for browning, which creates a rich flavor through the Maillard reaction. This is essential for building depth in your soup.
The addition of cheese at the end ensures it melts smoothly without curdling, which can happen if you add it to boiling liquid. The milk adds creaminess, balancing the richness of the cheese and meat.
Tools You’ll Need
- Large Pot: A heavy-bottomed pot is ideal for even cooking.
- Wooden Spoon: Perfect for stirring without scratching your pot.
- Measuring Cups and Spoons: Essential for accuracy in your ingredients.
Serving & Pairing Suggestions
Presentation matters. Serve the cheeseburger soup in deep bowls, garnished with fresh toppings. A sprinkle of extra cheese on top never hurts!
Pair this dish with a simple green salad dressed in vinaigrette for a light contrast. For drinks, consider a light lager or a crisp white wine like Sauvignon Blanc. A refreshing iced tea can also complement the rich flavors of the soup.
Conclusion
Cheeseburger soup is a comforting dish that brings together the beloved flavors of a cheeseburger in a warm, hearty bowl. It’s quick to prepare, making it perfect for any night of the week.
Remember, the key to a successful soup lies in the quality of your ingredients and the techniques you use. With just a few simple steps, you can create a dish that impresses your family and friends.
Final Tips
- Leftovers: Store any uneaten soup in an airtight container in the fridge for up to three days. Reheat gently on the stovetop.
- Experiment: Feel free to try different toppings or add-ins. The versatility of this recipe allows for endless creativity.
FAQs
1. Can I use frozen shrimp for this recipe?
Yes! Just make sure they’re thawed and deveined before adding them to the stew.
2. How can I make this dish lighter?
You can use half-and-half instead of heavy cream and reduce the amount of cheese.
3. Can I make this dish vegetarian?
Absolutely! Substitute the chicken with chickpeas or lentils and use vegetable broth.
4. What if I don’t have Buffalo sauce?
You can make your own by mixing hot sauce with melted butter, or substitute with a different hot sauce.
5. How do I store leftovers?
Keep them in an airtight container in the fridge for up to three days. Reheat gently on the stovetop.

Catherine Frank is the creative force behind FoodieGrandie.com, a cozy corner of the internet where she shares her love for home-cooked meals. From hearty dinners to sweet desserts, her recipes bring warmth and flavor to every table. Passionate about simple, delicious food, Catherine turns everyday meals into memorable moments.